Showing posts with label Recipes. Show all posts

Saturday, March 15, 2014

Easy To Make Caramel Sauce

About 3 weeks ago, I hit a craving for something sweet and since I am mandated to eat at least 2 apples a day, I went shopping at the store to find some caramel sauce in a plastic container, the price $4.00 for about 1.5 cups! Everyone knows that I don't like processed food and after scanning the ingredients I was reminded of a childhood memory of making toffee at home with my Mom.  I had so forgotten this time, and I was probably about 7 years old when we would just go in the kitchen and make it. And after a few times, I made it on my own even at such a young age. However I hadn't done that in years.

I did do a quick search on the net but found that people seemed to have problem with it not turning "amber" colored or too thin, either way, here's mine.  Please note that I did put a little lemon juice in mine right at the start, don't use concentrate though. No thermometer? No problem. You should be able to stand and watch over it.

Here's the start:

1 Cup of Sugar
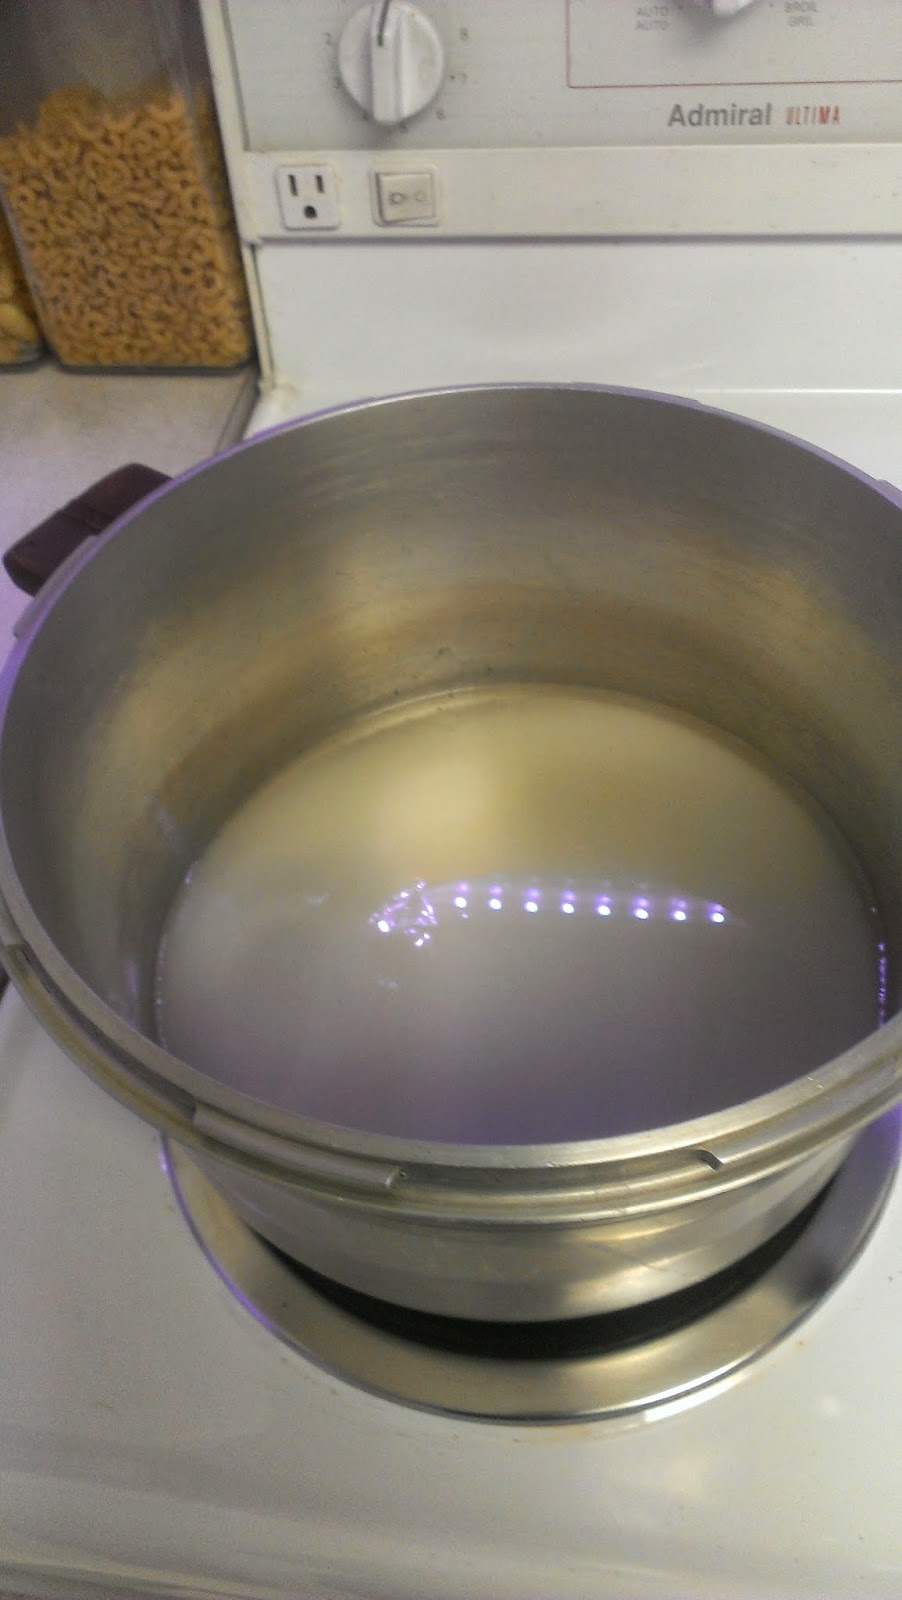
Sugar, Water & Lemon Juice


1Tablespoon of Fresh Lemon Juice 
1/4 Cup of Water.

And get ready:

2 Tablespoons of Butter (You can substitute Coconut Oil)
3/4 Cup of Whipping Cream or Heavy Cream.

Get a heavy saucepan, I used the bottom part of a pressure cooker, but anything will do, just remember if your pot is not heavy your going to really have to watch the temperature.

Pour in your Sugar, add the Water and the Lemon Juice. You want the Sugar to be saturated with the Water, you may stir slightly to mix it together, but don't stir it up onto the sides.


You need to turn up the temperate to Medium-High and have a Wooden Spoon handy along with, if you have one, a Pastry Brush. Get the Pastry Brush wet to wipe the sides if you happen to get some crystallization on the sides if you accidentally stir the sauce while it is cooking.  The big key here is Do Not Stir, you may initially sweep it together to get the sugar soaked but after it starts cooking, patience is a virtue.

The mixture will slowly come to a rolling boil, do not leave it unattended because it is a timing thing, and it is dangerous because it is so hot. When it comes to a full bubble, simply keep your eye on it, you may from time to time push the wooden spoon through it but again, no stirring.  I didn't time it other than to say that it took about 8 minutes to get to this point of boiling.
Take a look at this video:


I did turn it down a little to medium heat at this point, I watched to make sure it was still bubbling.
Remember that you need to really watch it, as I found that every recipe I looked at said it was under 10 minutes from start to finish, this was not the case when I made it.    You should notice that at first the bubbles are small and rapid forming. As it cooks it, the forming slows down and you will see it start to form froth on the top, like these pics:

TheBeginning
 You should see something like this on the left. Notice how small and the amount of bubbles is extensive. A good start.
And here to the right is a picture of it after about 5 minutes. This shows it starting to turn Amber. The bubbling will slow and you'll notice more froth building on the top, remember to just pull a wooden spoon through it if you want, but don't stir.


And finally after about another 4 or 5 minutes, the color has deepened. This is where you have to take it off the stove and add your Butter.
Dark Amber Slow Rolling Froth

At this point, I removed it from the heat and added the Butter, you can use Coconut Oil if you want, and that may give it an interesting flavour that is lovely too.

 
Last, you must pour your cream into the mix, stir quickly, I used a whisk to do mine with, I found that initially it lumped just a little but after a few moments it melted all down to the final product.

 And then you do what I do, bottle it up and give it away, there's nothing like getting a bottle of this. They will remember you.!

A little note: The sauce is not all that thick at the end, however it needs to cool and you may transfer it to containers. It must be refrigerated and will thicken up once it gets cold.


Saturday, January 26, 2013

Give Me Chocolate Chip Cookies or Give Me Death

Last Christmas was my first year that I did any baking at all.  I don't usually celebrate that Holiday but what the hell, I had a lot of the ingredients on hand so off the search on (what I like to sweetly call it) the Google Machine.  Oh my God!  Never, ever type in : The Best Chocolate Chip Cookie Ever!.  You will get slapped in the face with a dizzying, plethora of choices.  I guess I have no right to complain because I found a great one. 

The blog states that this recipe is for a fluffy, cake-like Cookie using Cornstarch. That's what drew me to it.  
Okay that's not exactly true, it was the description and the pictures. I couldn't wait to try it myself.

Out came the Butter which was not as thawed or soft as I had hoped for, but I did finally cream it with the sugar.  This recipe calls for quite a few eggs which I found sort of strange but I kept mixing.  And stupidly I thought "hell, I should just double the recipe" and I started adding again.  I don't like super-sweet things so I used dark chocolate chips.

I have to say that I am not as muscular as I once was yet I can muster quite a bit of strength, but I was starting to almost feel like I was going to break a sweat mixing it all together.

Oh and then I saw it. She used a mixer, probably a KitchenAid.

I hate Kitchen Aid Mix-Masters with their moody color palettes , only because I don't own one and all my Friends post on Facebook with banner-waving bragging that they, the chosen ones, have received one through the Magic Cooking Deities.   


I prepared my pan with parchment paper. It's the Lazy-Person's Savior.  Actually, it's just smart.

Here's what they look at this stage.


                                And here's what they look like after they've been baked.


I can tell you that these were the most delicious cookies I've ever tried. They were light and cakey rather than the flat, dense cookies that we usually try.

I found my recipe on the net from  http://kirbiecravings.com/

Here's the recipe:


Chocolate Chip Cookies with cornstarch


Ingredients:

3/4 cup unsalted butter, softened
1 cup brown sugar
1/4 cup granulated sugar
1 egg
2 teaspoons vanilla extract
2 cups all purpose flour
2 teaspoons cornstarch
1 teaspoon baking soda
1/2 teaspoon salt
8 ounces bittersweet chocolate, cut into chunks (I used one cup of chocolate chips)

Directions:

1. Preheat oven to 350 F.
2. Cream together butter and sugars until smooth. Add egg and vanilla and blend in. Stir in flour, cornstarch, baking soda and salt. Stir in chocolate chunks.
3. Drop by tablespoons onto a greased baking sheet and bake for 8-10 minutes, until golden brown around the edges.

Then when they are done, give them away to your Friends who will eat all of them in front of you, Success!!! (Seriously, this happened).

And just remember; Eating a whole bowl of cookie dough is NOT healthy for you!

Sunday, November 25, 2012

Winter Skin Blahs

Ah, tis the season for the annual dry-skin malaise to rise up.  Are you like me, and suffer with the dreaded itch-scratch cycle that will wake you in your sleep?

I have been searching for a cure for many years and tried so many different creams which never worked and this is where my best friend comes in (note: that this story is just one of the reasons we call them best friends!).  She told me about some home-made cream that her Mother had sent her and that it was a sure win for helping with winter skin.  I got to try it and honestly noticed a huge difference in the next couple of days.  

A little research on the internet yielded quite a few different sites and found a wonder blog called Living The Nourished Life, got a recipe and off the the local store for items. You can find their blog at:

http://www.livingthenourishedlife.com/2012/02/homemade-whipped-coconut-oil-body.html

I opted for buying the Organic Coconut Oil and Bergamot Essential Oil.  I whipped up the Coconut Oil with a hand mixer and then after it became nice and frothy, I added quite a few drops of the Bergamot Oil and voilĂ !, I had my own cream.  I started applying it starting in November, when the weather became much colder and the air, drier. (Some people say that's impossible for being in Vancouver, but honestly, at home with the heat on, it does sap out the moisture).  Anyways, I put it on after a shower, I would recommend this as you will notice a slightly oily feeling when you put it on, but amazingly after a few minutes it will sink right in.   Here's a picture from livingthenourshiredlife's blog which also turned out to what I made.  


The other thing about Coconut Oil is you can cook with it.  There are so many benefits, but one that comes to mind is helping to lower Cholesterol.  And Coconut Oil is one of the absolute best ways to treat your hair to a yummy, healthy and safe treatment for dry hair, itchy scalp or just dull tresses. Leave out the Bergamot and just put some through your hair, wrap it up or sleep on it.

Give it a try, you'll love it and sleep a lot better too.